Woah! #MinecraftEdu meets #MergeCube ! Mind blown! I built a model of a 🏠 in real life. Then I rebuilt it in Minecraft. Next I exported a 3D model of it. Finally, I was able to view in as AugmentedReality on a Mergecube. @PlayCraftLearn @Merge #MSFTEduChat #microsoftedu @alcdsb pic.twitter.com/o8pOAy4qko— Kurtis Hartnell (@profhartnell) May 8, 2019
I recently found out that the MERGE Cube could be used to view 3D exports from Minecraft and had to try it out for myself.
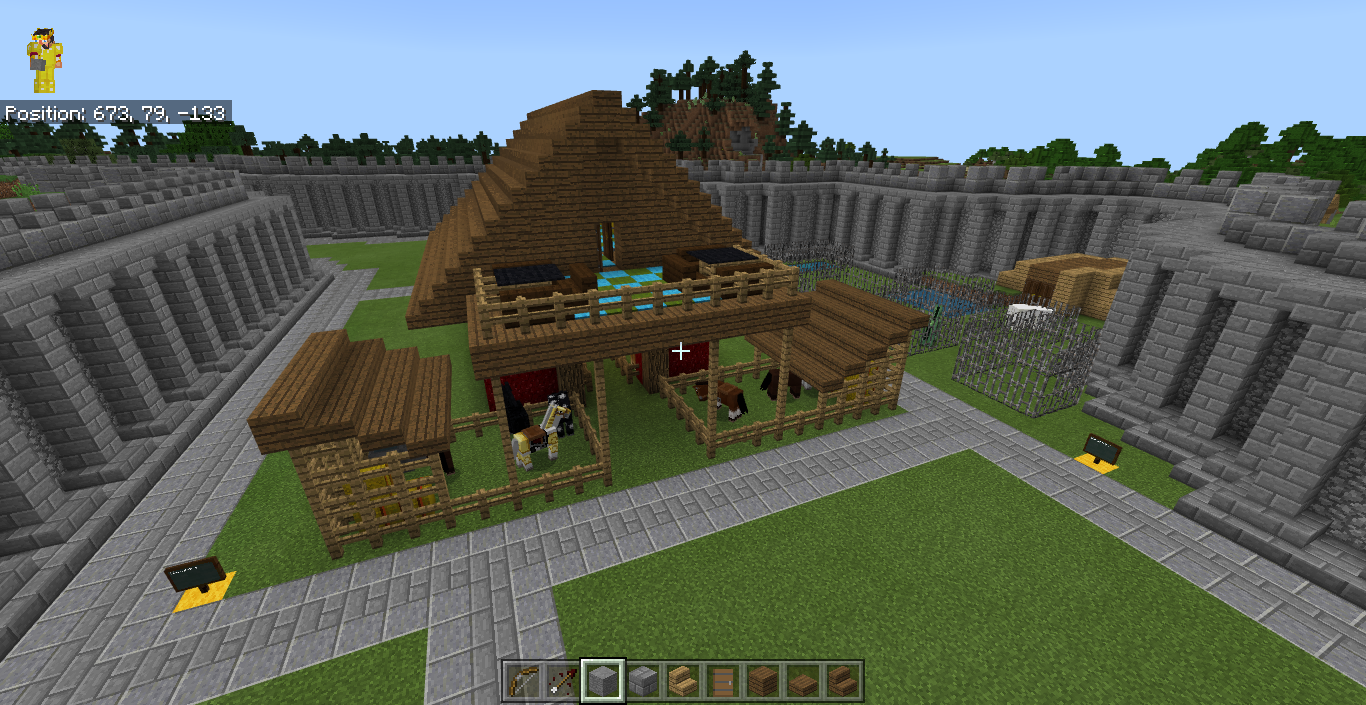
Here's a STEP by STEP walk through about to view Minecraft structures with a MERGE cube.
You'll need to export your structure with a structure block from Minecraft. If you need help with that, check out Microsoft's blog post on how to use structure blocks to export 3D images. https://news.microsoft.com/en-gb/2017/10/12/this-is-how-you-turn-your-minecraft-creations-into-3d-models/
It should save as a .GLB file. Open the file with Paint 3D. Go to Menu, then select "Save As" and save the file as a "3D model".

Next, you will want to save the file as a .FBX file.

Now that the file is saved with the correct format, go the MERGE Miniverse to upload your image. (I had difficulty with Chrome as my browser so I used Microsoft Edge). https://miniverse.io/objects

Sign in and click on MY OBJECTS.


Select your file. It should generate a 6 digit code.

Now it's time to get the MERGE Cube out and view your object!
You'll need the app "Object Viewer for MERGE Cube". Select "Phone Mode"

Enter the object code and select "Load".

Now you can check out your object in augmented reality!
Don't have a MERGE Cube yet? Not a problem!
You can make the MERGE Cube yourself, using Gabe Haydu's printout (used with permission from MERGE): https://sites.google.com/view/gabehaydu/resources
Or, you can purchase your own MERGE Cube from their website (if you are in the US), or, for Canadian buyers, from Amazon.ca.
https://shop.mergevr.com/products/merge-cube
https://www.amazon.ca/Merge-VR-ARC01-Augmented-Smartphones/dp/B076PQV3CB
Tag me on Twitter to let me know what you come up with! @profhartnell
A huge shout out to Kristine Holloway @mspaperless for explaining how to save the file properly!
We followed the instructions created by @nelly_hamed https://t.co/1zyawkRsHq but were confused about saving as an .fbx file. First export .glb file in Minecraft using Structure blocks, then import into @Paint3Dedu and save as an .fbx file then get the @MergeVR Museum Viewer code— Kristine Holloway (@mspaperless) April 29, 2019